


How to Paint A Watercolor Tree

Welcome to 🌲 WINTER Pine TREE TUTORIAL TIME 🌲 ! Recently, we have some winter theme painting tutorial. How to paint the beautiful water-color tree is the main topic of today's painting tutorial. Art can bring our life a lot of interests and amazing experiences. The existence of the art has added colors to festivals and let's release for flight the green mood in it!
 Step1.
You need to draw the shapes of the branches. A pine tree like the one in this example is similar to a stack of cones that get larger towards the bottom. Start the drawing going top to bottom with sets of curved lines that define these “cones”. These will be the outer shapes of the branches. Sketching Pencil & Pencil Sharpener Set would be used in this step for sketching.
 Step 2.
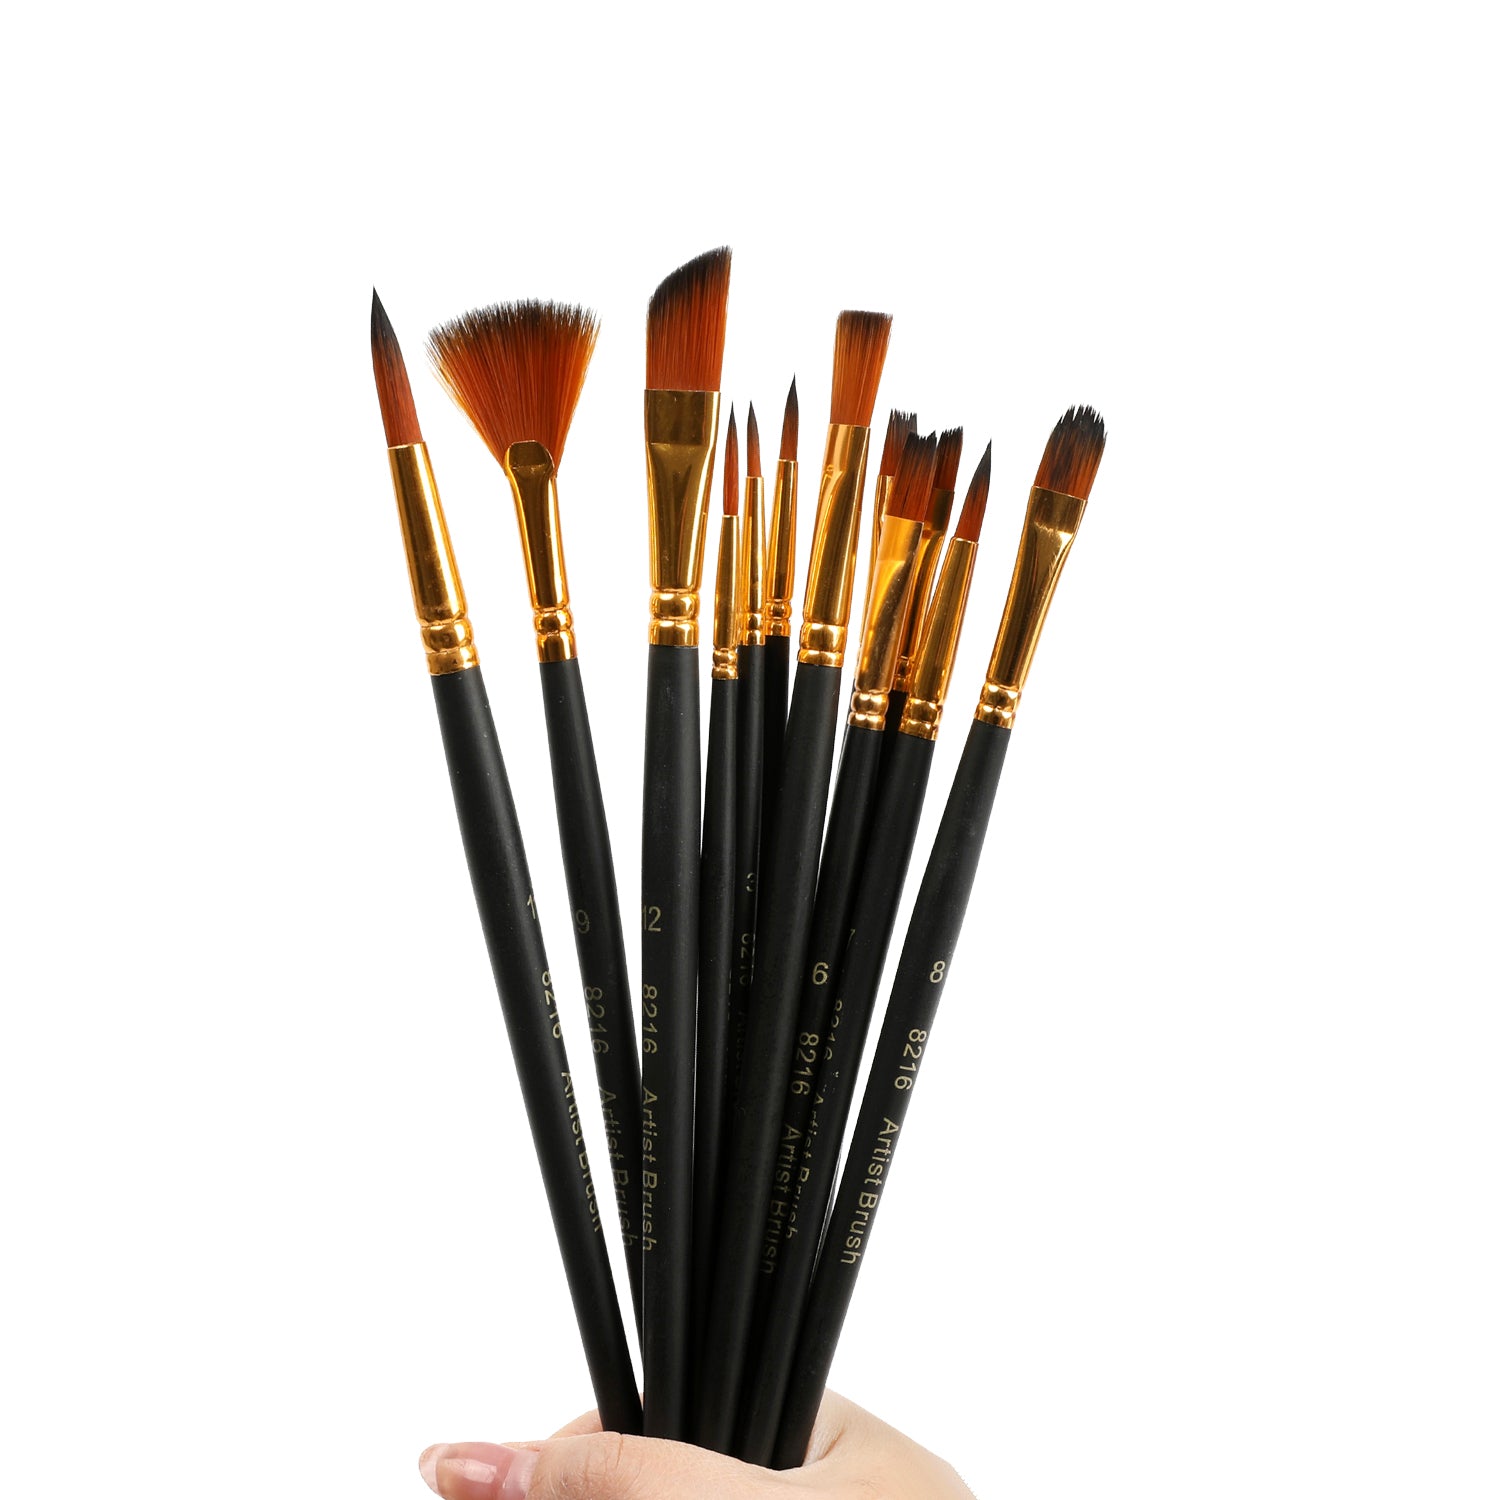
 And then you need to use brush to color with green from the top, here we need to paint one layer after another, and then wait for the paint to dry. Our artists has used 12 Pcs Durable Paint Brush Set, and this set can meet different needs in models, ensure that you always have just the right paintbrush, and offer the perfect for each phase of all your artistic painting projects.
 Step 3.
Here we will add some darker green and yellowish colors, the two colors may be mixed a little. This will add color to the painting and make it look more real and interesting. 36 Colors Classical Artist Metallic Glitter Paint Set is highly recommended for coloring step. It is easy to blend to create an endless range of colors and you can enjoy the fun of applying the colors.
 Step 4. Just in the second step, we have specially opened a few layers without coloring, so now we will paint these layers with light blue. The purpose is to give this tree a feeling of snow. Our artists has used 72 Colors Professional Oil Based Colored Pencils set to draw more details in colors. These smooth and highly-pigmented pencils make blending, layering, and mixing colors a breeze. Finally, we use dark green to add some colors to the tree according to our own preferences to make it look more layered and more real.

Bold & Bright Coloring Kit
from $24.99


Extra Fine Tip Acrylic Paint Marker Set of 28
from $12.99


