How to drow a seahorse

Maybe you've always wondered how to draw a seahorse. Seahorses are familiar marine creatures. It's small and agile, with lots of detail on body parts. You might think that painting a seahorse is complicated and only suitable for more advanced artists. Follow us and draw your own seahorse in just three steps.

Step 1: Outline the seahorse carefully
First, we use a charcoal pencil to lightly draw a shape like a number 3. On this basis, outline the shape of the seahorse we want on both sides. It is worth noting that the seahorse has a large belly and a relatively small head and tail. Then add the seahorse's signature dorsal spines and dorsal fin to the outline. Next, draw a close-to-rectangular head and refine the details of the mouth to make it round. Add the eye and body folds at the end.
First, we use a charcoal pencil to lightly draw a shape like a number 3. On this basis, outline the shape of the seahorse we want on both sides. It is worth noting that the seahorse has a large belly and a relatively small head and tail. Then add the seahorse's signature dorsal spines and dorsal fin to the outline. Next, draw a close-to-rectangular head and refine the details of the mouth to make it round. Add the eye and body folds at the end.
Step 2: Apply the base color
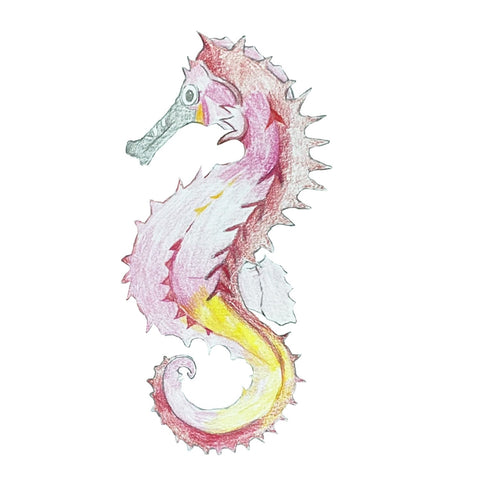
Pick our lilac and our yellow colored pencils to color our seahorse's body. We can control the strength of the painting to paint the shadow part of the hippocampus body. Make our hippocampus more three-dimensional by wiping and blending in the color transition. The mouth and eyes are still depicted with gray-colored lead. Of course, the dorsal fin of the seahorse also needs to be colored.
Pick our lilac and our yellow colored pencils to color our seahorse's body. We can control the strength of the painting to paint the shadow part of the hippocampus body. Make our hippocampus more three-dimensional by wiping and blending in the color transition. The mouth and eyes are still depicted with gray-colored lead. Of course, the dorsal fin of the seahorse also needs to be colored.

Step 3: Paint Details, Add Shadows
Choose three darker-colored pencils. For example, we use brown, coffee, and dark purple colored pencils for our secondary coloring. We need to paint more shadows and details to add more dimension to our seahorse.
Choose three darker-colored pencils. For example, we use brown, coffee, and dark purple colored pencils for our secondary coloring. We need to paint more shadows and details to add more dimension to our seahorse.
For example, we can add a little shading to the back and mouth of the seahorse, as well as make the spines on the back and dorsal fin more prominent.
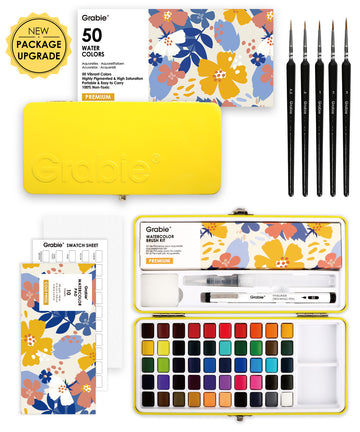
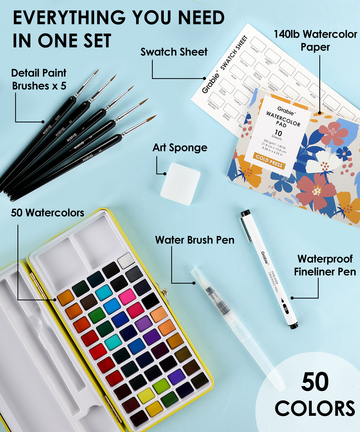
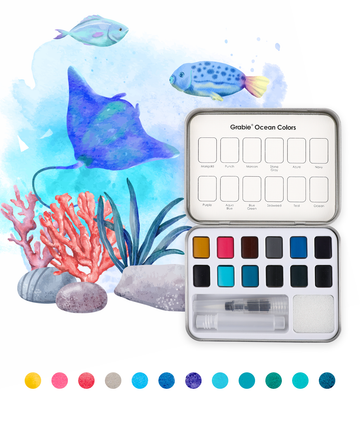
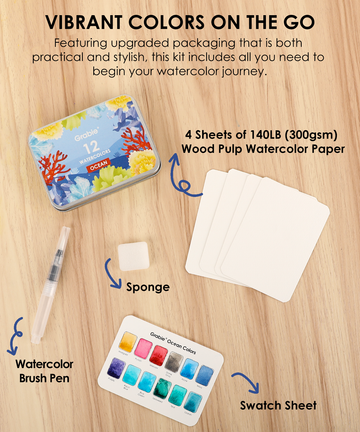
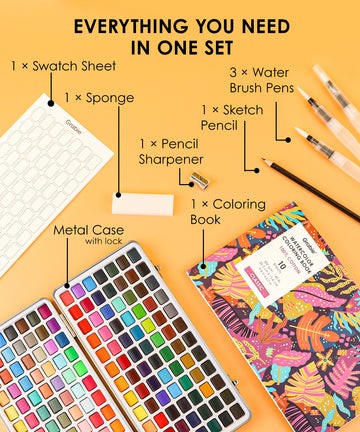
Congratulations! You've learned how to draw a seahorse. Thank you for joining the seahorse painting seahorse with us today. We hope this article was insightful, entertaining, educational, and encouraging. Let us know how your ornaments turned out in the comments section of this article, and tag us on social media! Are you feeling inspired and want to create more paintings? The shop suggested a painting set for your creation!


