How to Draw a Woolen Hat?

The woolen hat always reminds us of snowy winters. In the coming winter, hats are an integral part of us not only to keep warm but also to match our clothes. Would you like to draw a cartoon beanie? This easy, step-by-step object drawing tutorial is here to show you how. Let's grab a paintbrush and decorate our winter hats with our favorite colors and decorations.

Step 1: Sketch Out The Outlines Of The Hat
Use a sketch pencil to draw the three parts that make up the hat. In the first part, we use a circle to draw the fur ball on the top of the hat. The second part is the central part of the hat, which is an irregular semi-circle. And the third part is the bottom of the hat, we need to draw a little three-dimensional effect like It is the feeling of wrapping the hat.

Step 2: Paint With Watercolor
We painted the body of the hat and the ball on top with light blue and white watercolors. We don't need to fill it all up, this is in preparation for our second paint job.

Step 3: Layer on Additional Paint
This time we added medium blue and lilac again to paint the body and top of the hat. As you blend the medium tones into the lighter tones, take care to preserve your light spots. On the top pom poms, we use grey to add a little shadow to create a three-dimensional effect.

Step 4: Get Light And Shadow Effects
This time we chose dark blue to color. The main purpose is to make our light and shadow effects more obvious and layered. Then draw the details of the hat body and bottom to make our hat more realistic. We added a touch of grey and chartreuse to the top of the plush ball to make it more colorful and grab everyone's attention.
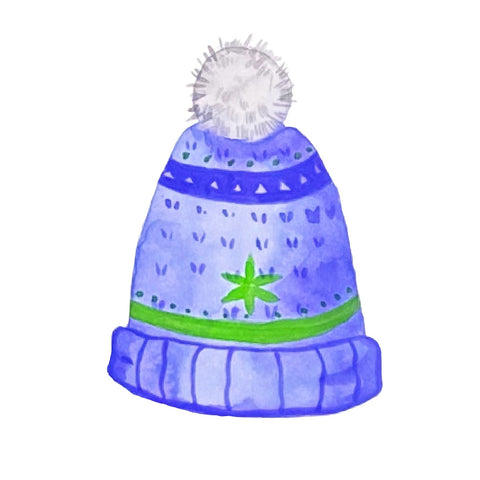
Step 5: Add More Details To The Hat
We draw the decorative pattern on the hat in green. Of course, you can decorate your hat with any color or design you like. Then we use blue again to mark the lines on the body of the cap and the crease at the bottom of the hat. Finally, we use dark gray to embellish the plush ball on the top to make it look natural.
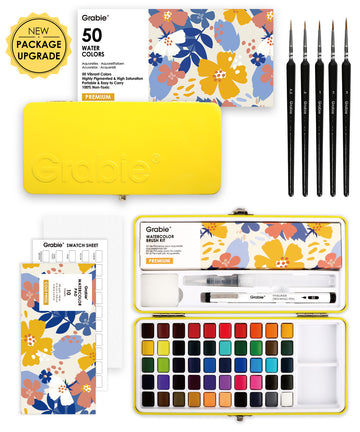
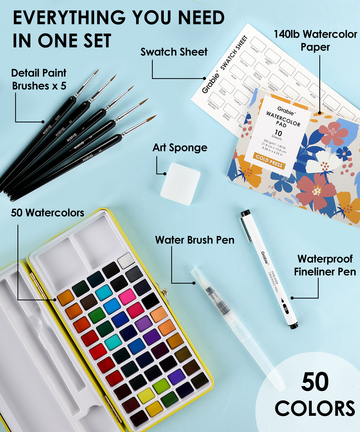
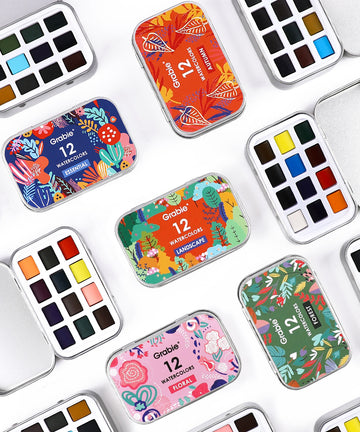
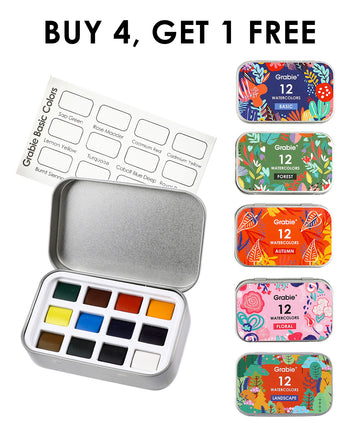
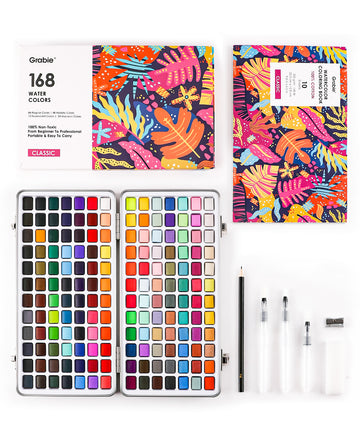
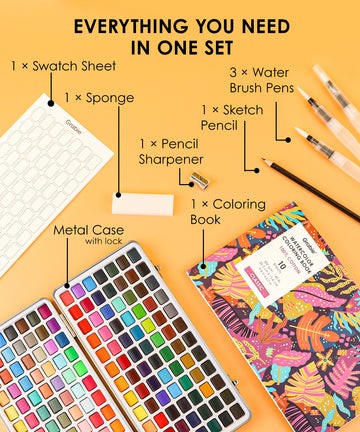
Thank you for creating your own winter hat with us today. We hope you found this drawing article insightful, entertaining, educational, and encouraging. Creating from scratch is a fun process, and we hope you enjoy it by using Grabie's art supplies.
Follow this step-by-step guide to learn how to draw a woolen hat with watercolor.


