How to Draw Strawberry Slices with Watercolor
 How many people like to have a few iced strawberries with sparkling drinks in summer, sweet and sour flavor with very refreshing taste. Using the picture as a reference, this tiny fruit is easy to replicate; it looks bright and tasty, and will be a lovely illustration once done. In this article, our artist will use the most popular watercolor paint set to show a strawberry slices in front of your eyes.
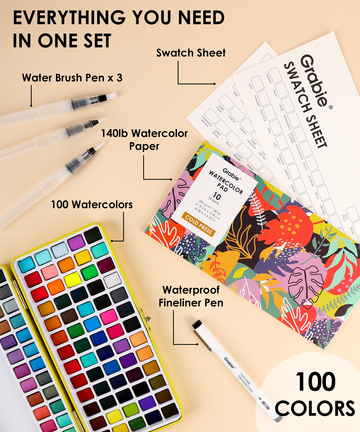
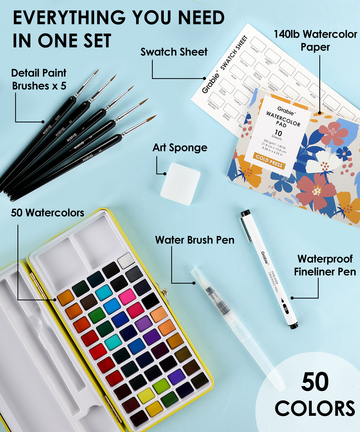
I can't wait to show you my step by step drawing process. For this simple painting, I used watercolor paints instead of acrylic. This set of 100 colors is great for making fun and quick creations because everything I need is in the set. I mean all of the colors you need is included and you don't need another palette because you can do it on the lid! So, the only supplies you'll need when you use this kit are paper and water - easy and convenient.
List of Supplies:
- 100 Colors Solid Watercolor Paint Set With 35 Metallic Colors
- 15 Sheets 300 GSM Watercolor Paper Pad

Step 1. Lightly sketch the strawberry with pencils
Firstly, lightly draw the outlines of the strawberries, the stem and leaves by using a harder pencil in the set. Be careful to sketch it lightly, it’s good for the subsequent coloring. The cross section of a strawberry is similar to the shape of heart, and the leaves can be separated and scattered on the top of heart. You can draw a brace symbol in the centre of the heart to divide the area inside the strawberry, which is convenient for subsequent partitions to be colored.

Step 2. Start shading the peripheral of the strawberry
In this step, you need to wet the paper with water first. Using the largest brush dipped in water and wash the heart area. Then, strawberry always be red, so choose the red color you like to paint the the peripheral of the strawberry and slowly transition to the inside of the strawberry. Pay attention to leave the white area to the center point, because the middle of the strawberry is always white.

Step 3. Coloring the strawberry leaves and intensify the color of the strawberry
While this step deepens the red color, you can also start coloring the leaves at the same time. Repeat the previous step mix with fewer water and use red paint to transition from the outside to the inside. In this step, you can also directly mix the light pink paint with water and fill it in the center of the strawberry, showing a pale pink pulp. We choose tender green leaves to make strawberries look fresher.

Step 4. Draw the stem and vascular bundles of the strawberry
When the previous step is completely dry, this step begins to add some details. We took the yellowish paint and water with another brush and started to paint the inside of the strawberry. Let's imagine a drop of water falling from top to bottom and spreading out. This is the general shape of the internal structure of a strawberry, which is vascular bundles. For the stem, we just need to dip a deeper green paint with fewer water to draw a little rectangle in the leaves.

Step 5. Add the finishing touches and shadows to the strawberry
At the end of the work, I added white specks and highlights in the very middle of the entire strawberry to make it more dimensional and dewy. Also added some shadows to the stems and leaves to make them look more lifelike.
You have done the strawberry watercolor painting! See how fun strawberry watercolor drawing is? You should now have a fantastic rendering of this awesome summer fruit.


