How to Draw a Cute Avocado in Easy Steps
 Avocados are one of the healthiest and most versatile fruits you can enjoy! Aside from the fact that you can make any kind of food with it, it just so happens to be very good for you. Avocados are popular all over the world, and many people enjoy this creamy textured fruit every day. It also has a simple and unique look that fruit lovers can enjoy while learning how to draw an avocado. By the end of this guide, you'll know everything you need to know about how to draw an avocado slice.
List of Supplies:
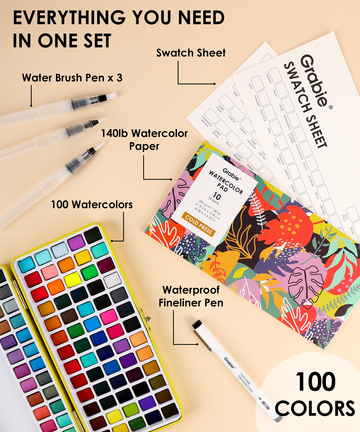
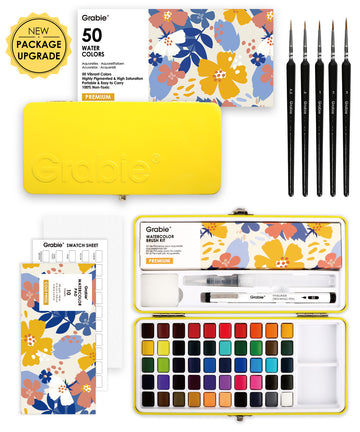
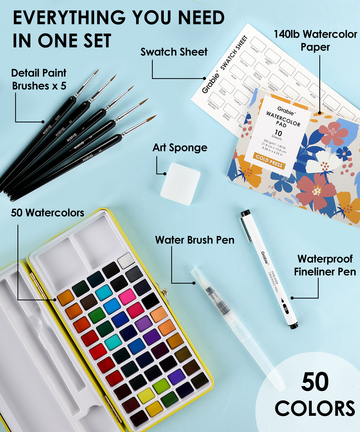
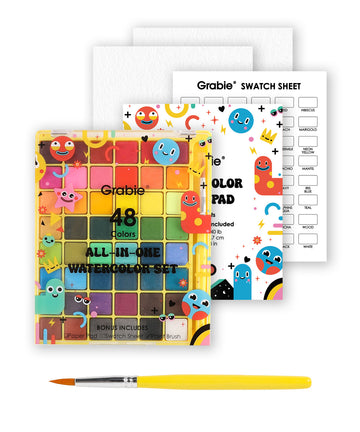
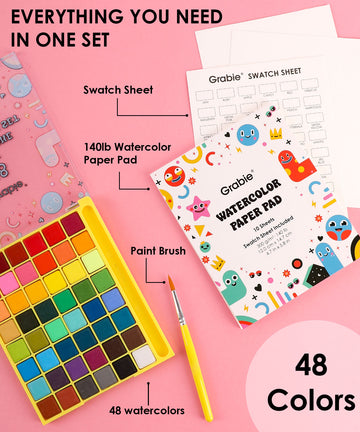
- 100 Colors Solid Watercolor Paint Set With 35 Metallic Colors
- 15 Sheets 300 GSM Watercolor Paper Pad
- 11 Pcs Miniature Detail Paint Brush Set With Natural Wood Handle
- 12 Pcs Angular Flat Paint Brush Set

Step 1. Lightly sketch the strawberry with pencils
Draw an oval on the left side of the paper. Add details to the drawing with a curved line at the bottom. This avocado will be drawn as if it was cut in half. After that, draw a circle inside your avocado. The circle is now the pit of the avocado, and leave a smaller circle as a highlight area in the middle of the core.

Step 2. Start coloring the cross-section of the avocado
Start adding color to your avocado artwork from the upper cross section. The color of the inside of an avocado varies from yellow to green. Don't forget to take a deeper green shade to darken the outer edge of the cross section and transition from outside to inside. Meanwhile, fill the avocado pit with pale brown color and leave the highlights.

Step 3. Shading the peel of the avocado
In this step, we need to color the peel and make the avocado looks more illuminating. We first cover the avocado peel at the bottom with dark green, and mix it with a small amount of brown at the bottom to form a natural imperfect avocado color. We can use a more tender green to trace between the pulp and peel to increase the overall three-dimensional effect. Besides, let’s coat the surface of the avocado with a light pearly green to give the pulp a glossy, fresh and juicy look.

Step 4. Add details and touch up the final artwork
We are finally in the final touching step. This step is relatively easier than others. We can choose a lighter brown pigment than the previous step, pick up the dry paint on dry, and apply it to the core and peel, then a lifelike avocado appears.
Thank you for joining the watercolor painting tutorial and creating a cute avocado drawing with us today, we hope you found this article insightful, entertaining, educational, and encouraging. Let us know how your ornaments turned out in the comments section of this article, and tag us on social media! Are you feeling inspired and want to create more watercolor step by step drawing? Shop suggested set for your creation!


