How to Draw a Watercolor Humming Bird
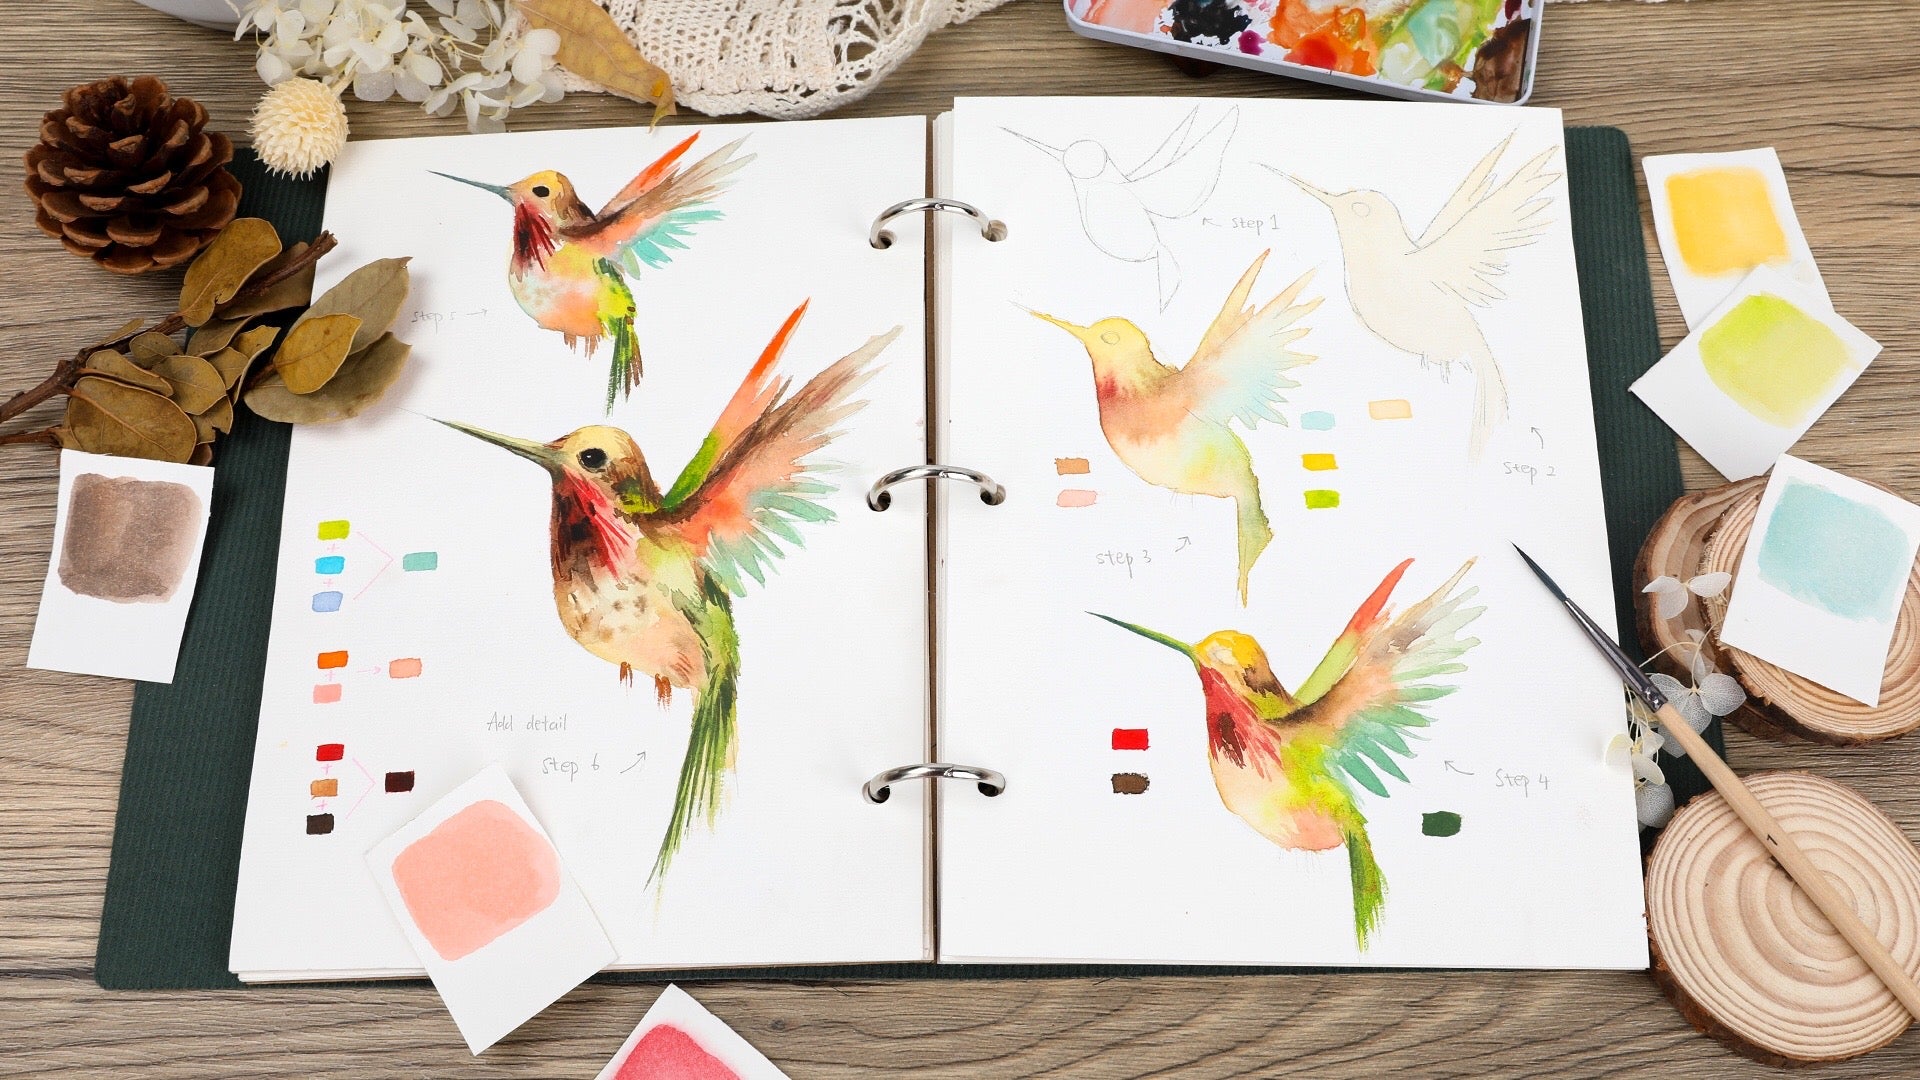 How
to Draw a Hummingbird Using Watercolor Paint Set
If you're planning to
make your own holiday cards this year, you might want to consider adding this simple and elegant hummingbird
painting to your card. They are called hummingbirds because of the humming sound they make when they flap
their wings. This article will show you how to paint a colorful hummingbird using watercolor paints and miniature
brushes in six easy steps. Let's start!
List of Supplies:
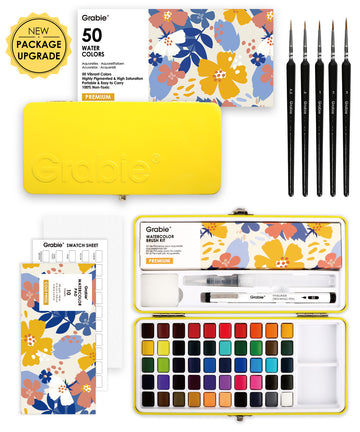
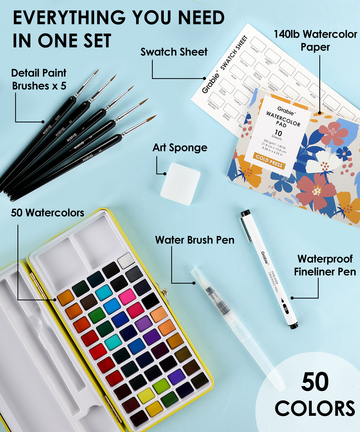
- 24 Colors Hand-Poured Watercolor Paint Kit With Foldable Case
- 11 Pcs Miniature Detail Paint Brush Set With Natural Wood Handle
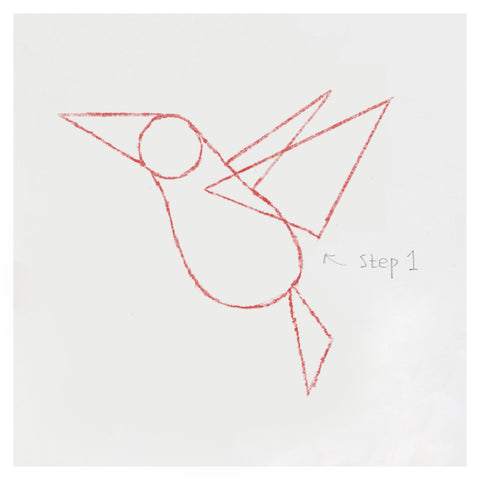
Step 1. Draw a few geometric figures as a simple hummingbird sketch
Use basic shapes to
draw the body, head, tail and wings. As you can see here, the head is a small circle, the body is a pear shape, and
the wings and tail are triangles, adjusted in position and shape to mimic their actual status.

Step 2. Soft geometric borders, optimized lines for sketching
In this step, you don't
have to draw every feather. You just need to soften the edges of the original triangles so that there is a feathered
line. Next, outline the bird's small but long triangular beak.

Step 3. Add an eye to the head and feathers for the wings and tail
Once an initial
shapes have been outlined, you will see the humming bird taking shape. Next, outline a small oval eye for the bird on
bird’s head and try to draw some feathers at the border of the triangles as shown in the picture. Now that you have
drawn the basic overall shape of the flying pigeon, you can start adding details.

Step 4. Paint a base color to the overall sketch
Use a light yellow color from
watercolor set and mix with water for the entire interior of the outline with #7 miniature watercolor paint brush. It
looks like the sun is shining on them, doesn't it? It doesn't matter if you accidentally go over the border of the
line, as this will be softened by subsequent colors.

Step 5. Partition superimposes various colors on the base color
In this step, we need to
bring out a lot of bright colors on the palette, because this hummingbird is colorful. The head can be kept yellow and
deepened, and the feathers down can be mixed with red and brown to create a gradient effect. Add some light blue to
the edges of the dove's wings for shading. The tail can be mixed with green and yellow, which makes it more like
traveling in the forest.

Step 6. Emphasize color rendering
In this step, the pigments are mixed with less water,
the purpose is to increase the layering and saturation of the color. We can use the thinnest #00000 brush to carefully
apply green paint along the edges of the sketch of bird’ s beak. Then use a medium brush (#0, #1, #2) to add a darker
color to the hummingbird's body to create a layered look.

Finally, color the eye, taking care to leave out the highlights. Next, add more browns and dark colors to give the bird's feathers and body more texture. Don't worry about colors blending into other colors, it just adds a fun and painterly quality to your drawing.
Wow! ! You now have a beautiful hummingbird watercolor painting to decorate your holiday cards or photo frames as a gift for someone special.


