How to Draw A Hot Chocolate

The best thing to do in winter is to make a cup of hot chocolate with marshmallows and lie on the couch to catch up on your favorite TV channels. A sip of hot chocolate will chase away the winter chill. Get out your paintbrush and get moving. Let your paintings bring warmth to more people.
List of Supplies:
-
11 Pcs Miniature Detail Paint Brush Set With Natural Wood Handle
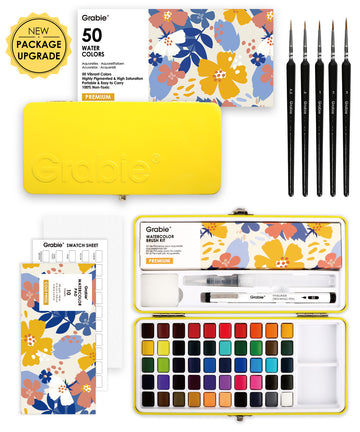
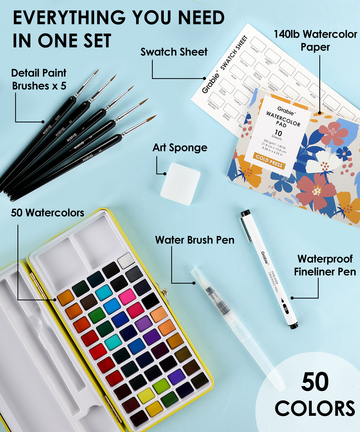
- Premium Watercolor Set Of 50 With Brush

Step1: Sketch a Hot Chocolate with a pencil
It would be helpful if you have the right pencil to draw a rough model for your hot chocolate. Here we use a 3D cylinder as the body of the mug and some irregular circles for our marshmallows. Try to stack these marshmallows together so that there will be some layers. Also, don't forget the handle of the cup.

Step2: Pick the right color and paint
In this step, we only use the color of the previous layer. Here Grabie uses the light flesh in Watercolor Set Of 50. Then we leave a little blank in the middle of the cup as a reflective point for the cup. This will give our mug more texture.

Step3: Double color and add a little shadow
we are going to apply another layer of brown to make our mug color more transparent and then paint our hot chocolate with a coffee color to make the hot chocolate more visible in the mug. We erased the marshmallows drawn in pencil and replaced them with light brown colored watercolors. Then we paint beige on the marshmallows and on the blank space left in the previous step. Regarding the color of the cup, we use good diffusion of watercolor to create a gradient effect.

Step4: Color again and retouch the outline
This step also requires coloring our marshmallows because of being soaked in hot chocolate. So we used the light curry color and painted our coffee color in the marshmallow-to-marshmallow gap. Let's color the mug again, this time with a light pink color, and apply it evenly to the cup. At this moment, the overall color of our painting is still relatively light. In this step, we reduce the amount of water used and paint the coffee color to accentuate the color of the gap between the marshmallows. Increase the red color around the cup, and lighten the color around the reflective point appropriately.

Step5: Add some Hot Chocolate details
In the final step, it’s time to add more details. We dipped in brown and used the thinnest detail brush to outline the overall shape of the cup. Then paint the gaps of the marshmallows again with a thicker detail brush and use coffee to create shadows. Finally, take a lot of water, spread a layer of brown on the cup and draw the shadow of the cup, and create a three-dimensional effect again. Wow, a cup of steaming hot chocolate greets our eyes.
If you're excited about this hot chocolate? Grab your paintbrush and give it a try! Thank you for taking part in the watercolor tutorial today and creating a hot chocolate painting with us. We hope this article was insightful, entertaining, educational, and encouraging. Please let us know how your decorations turned out in the comments section of this article and tag us on social media! Are you inspired to create more watercolor steps? Our store suggests a set for your creations!
Follow this step-by-step guide to learn how to draw A hot chocolate with watercolor.











How do you soak the marshmallows in chocolate drinks?