How To Draw A Bouquet

List of Supplies:
-
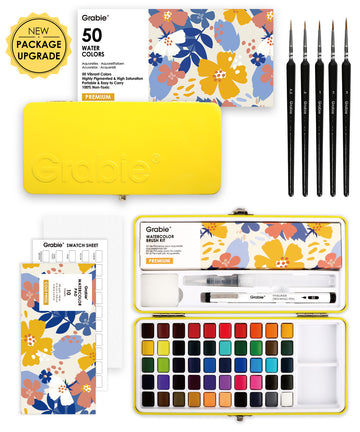
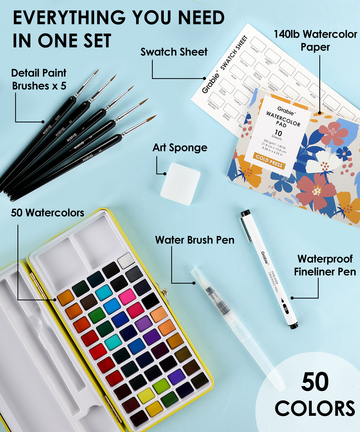
11 Pcs Miniature Detail Paint Brush Set With Natural Wood Handle
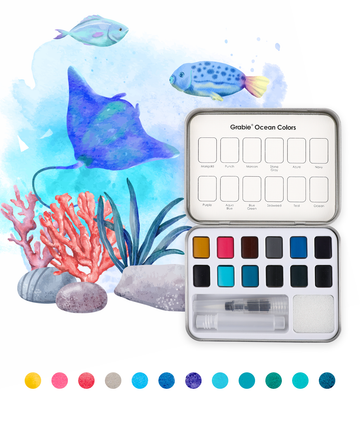
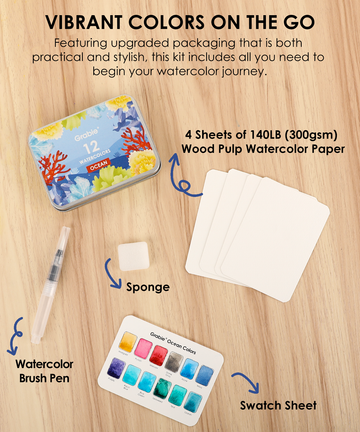
- 24 Colors Ocean Series Glittery Watercolor Paint

Step1: Sketch The Bouquet With A PencilThe right tools can help you easier to get started. First, we used a sketch pencil to outline an inverted trapezoid shape for the bouquet wrapping. Then try to stack the leaves and flowers together to give it more layers and look more vivid.

Step 2: Pick The Basic Color And Paint
It's time to get out our ocean watercolors. In this step, we dilute the paint with a lot of water to set the overall tone for the bouquet. First, we used light yellow (001) to spread the color on the wrapping paper, selected green (013) as the base color for the leaves, and light red (003) as the accent for the flowers.The color of the leaves can be darker to contrast with the color of the flowers. Take care to dab the paint in small amounts so that subsequent changes can be made to any unsatisfactory parts.

Step3: Do Secondary Coloring
The colors of the bouquet are still too bland at this moment. Next, we use a detail brush to draw the shape of the leaves. Use the same color but use less water. Then use a dark pink to halo the flowers and don't forget to deepen the color of the package to draw a sense of ruffled texture.

Step4: Paint Details, Add Shadows
In the ultimate step, we choose deep brown to do some decorations like riband and bowknot to give the bouquet more details. The bouquet leaves are not just one color, we use different colors (013-017) to superimpose the color of the leaves to make the bouquet more realistic. In addition, we dipped into the pink-brown color and used the thinnest brush to outline the edges of the petals to paint them in three dimensions. Finally, the edges of the wrapping paper are overlaid with brown to create a light and shadow effect.
If you're excited about this bouquet of watercolor steps, grab your paintbrush and give it a try! Thank you for creating a bouquet with us today. We hope you found this bouquet drawing article insightful, entertaining, educational, and encouraging. Starting from nothing is an exciting process, and we hope you can enjoy this bouquet painting using Grabie's art supplies.
Follow this step-by-step guide to learn how to draw A bouquet with watercolor.








Have bought a couple times recently and am happy with the items. Prices seem to be satisfactory and product is good quality. Delivery was very good. Will be returning because of quality service.