How to Draw Watercolor Orange Slices

Recently, I drew an orange and thought it would be fun to draw a sliced orange, and I believe this is one of the fruits that most people love. Because of their vibrant color, oranges always remind me of a passionate summer, and it's great to have a glass of orange juice in summer!
I'm thinking of more color textures inside. In this watercolor painting tutorial, we will use watercolor paint on professional watercolor paper to create an orange slices painting that emphasizes the detail and composition of orange slices. While the orange slices conclude much more information, they can still be drawn in a simplified way to make the painting easier. Let’s get started!
Download Free Step-by-Step Guide:
How to Draw Orange Slices
List of Supplies:
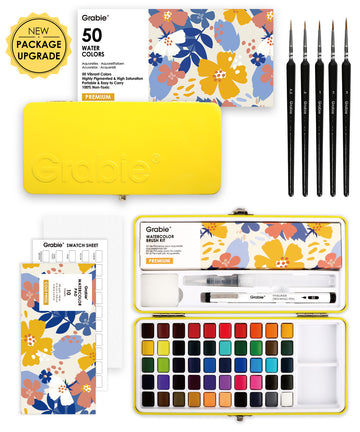
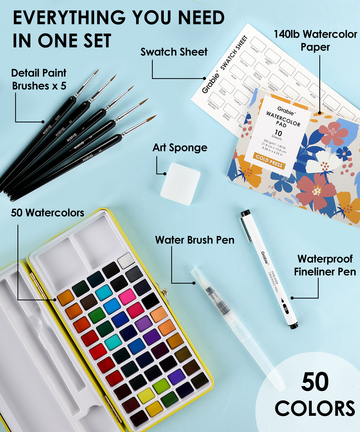
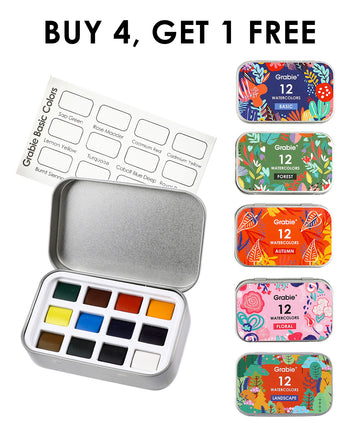
- 50 Colors Solid Watercolor Paint Set With 6 Paint Brushes
- 37 Pcs Drawing And Sketch Pencil Set
- 11 Pcs Miniature Detail Paint Brush Set With Natural Wood Handle

Step 1. Sketch an outline of an orange wedge
We'll start by simply outlining the shape of the orange with pencils. First, draw a semicircle and divide it into four droplet-shaped segments equally on the diameter side. Be careful to leave room for the orange peel, and leave an equal-scale semicircle area at the circle's center.

Step 2. Paint a vague edge of the orange peel
At this time, we dipped the previously adjusted orange mixed water with a liner, applied a layer of orange unevenly to the outermost part of the orange peel, and tried to over-color inward to form a blurred effect. In this step, you can use the six paint brushes with the 50 Colors Solid Watercolor Paint Set to get good outcomes.

Step 3. Color the orange segments with vivid orange and yellow
First, paint the segments with the same orange as in the previous step and a lighter shade of bright yellow. You can mix bright yellow and orange as a base color for the segments.

Step 4. Paint the shape of the drop into the segments
Once the base color of segments has dried, grab a miniature brush to dab some orange-yellow to paint in stippling on the base color of the segments. The dots can be of average droplet shape. I chose #3/0 of 11 Pcs Miniature Detail Paint Brush Set for these dots. They are ergonomically designed with easy grip and triangular shape handles and are easy to control.

Step 5. Deepen the color of the orange peel and segments
We need to repeat steps 2 and step 3 in this step. We can apply a lighter shade of orange than step 2 as a transition color between the segments and orange peel. At the same time, a thin, similar orange cover layer needs to add on the top of segments, making the colors blend more naturally.

Step 6. Add details and highlights to the orange
The last step is usually refining the details to make the orange painting more realistic and exquisite. We all know that fresh oranges are plump and juicy. There will be light on the orange wedges under the sunshine. At this time, we can use white paint mixed with a little water and the most delicate 5/0 detail brush to paint some white sesame-like highlights on the segments evenly.
Thank you for creating juicy orange painting with us today. We hope you found this orange slices drawing article insightful, entertaining, educational, and encouraging. Starting from nothing is an exciting process, and we hope you can enjoy this watercolor painting process by using Grabie's art supplies.


