How to Draw a Watercolor Donut
 You will feel a sense of the achievement and great psychological satisfaction after completing the drawing of lovely Donuts. As we can see, donuts often come with bright colors and delicious flavors, and with all the options there are, it can be just as fun to make and design a donut as it is to eat them! One special thing is the fluffiness of the donut and the flavor is always something out of the ordinary If you would like to design your own delicious donut, then this guide is for you to learn how to paint an attractive and colorful donut.
 Step 1:
Before you start the drawing, you’ll want to pick up some really good pencils for sketching, drawing, shading, and putting in the fine details. You will find one suitable for you in the selection of pencils. You need to to make a sketch of a circle for the outer edge of the donut. Then, draw another circle inside, and the small circle would be the small hole for the donut.

In this step, you need yo draw some frosting onto your donut by pencils. Here we also draw a few hearts and dots on the donut. You can choose to draw as many or as little as you like to make the donut in your imagination. The artistic charm lies in its imagination and we always can have unexpected surprise from the moments of art creating.You will be the one to fill in the blanks with your imagination.

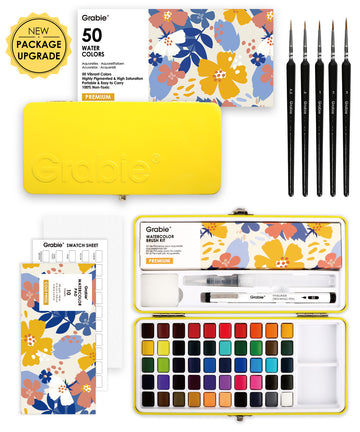
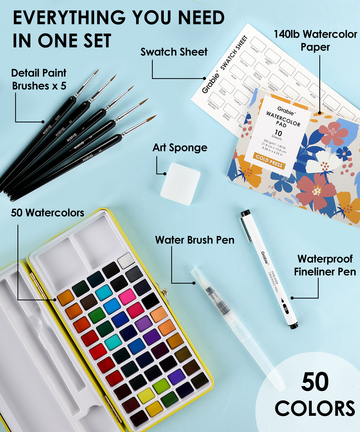
Another consideration with drawing is the type of brush. As we can find, a good brush will help you make gorgeous art. In this step, how to paint with bright and beautiful colors is the main core. Our artist has painted the base of the donut with orange color, and painted the frosting with light red. And then the hearts and dots in coral has been colored in red. Mixing and layering colors would help to enhance the contract of different colors and creating good effects.
 Step 4:
Selecting the suitable paint would make your artwork more attractive and stand out. Let's paint the base of the donut with another layer of brown. Then apply a dark brown shade to the edges of the frosting. The end of painting, let's add another layer of color to the frosting with coral red. The magic of the drawing is you can keep exploring the crack between the unknown and the unexpected surprise. Now you can see a lovely donut come into your view.
Let’s take the pressure off of our creative painting tutorial. Paint can make us happy. And everyone is on their own art journey, so don’t compare your step one to someone else’s step five. Happy creating with us and enjoy more fun from creating itself.


