How to Draw a Watercolor Butterfly
 Learning how to draw a butterfly can be very rewarding as it can enhance many other drawing techniques. While, how to paint a watercolor butterfly is not as complicate as you thought, it needs take time, so patience is essential throughout the process. When you see this watercolor butterfly tutorial, you must know that this is just one of many ways to draw watercolor butterflies. This method can be done easily in 6 simple steps.
Remember that previous butterfly we drew together a few months ago? I’ve decided to share another watercolor butterfly drawing process with you as well! I love the transparency in this blue one — but one of my favorite part is the pretty tail-part wings!
List of Supplies:
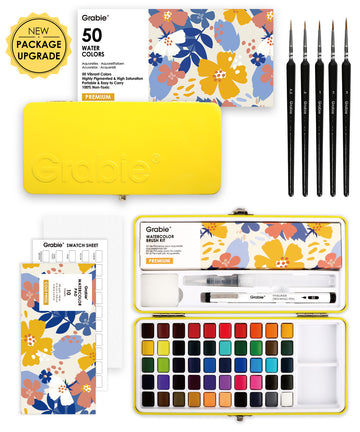
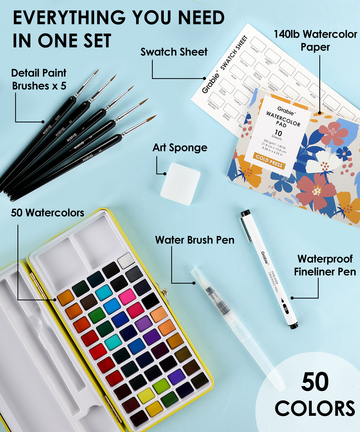
- Premium Watercolor Set Of 50 With Brush
-
11 Pcs Miniature Detail Paint Brush Set With Natural Wood Handle

Step 1. Sketch the outline of the butterfly
In this watercolor butterfly tutorial, you will find that the process of painting a butterfly is very simple. It starts with a general watercolor sketch of the shape and size of the butterfly. First of all, we need to draw dashed lines on the paper similar to the auxiliary lines in the picture to help us draw the general outline of the butterfly. You can change the butterfly to your liking, it doesn't have to be exactly the same as this example, active your imagination.

Step 2. Outline edges of wings with watercolors
Erase all the interior, and preliminary lines and complete the butterfly watercolor sketch. Now we've done the comparably hard part of butterfly drawings. We can explore which colors we want to use at this step, however, a good suggestion is to use blues and pinks in our watercolor butterflies for a visual punch.

Step 3. Smudge color from left to right with more paint
After the paint in the previous step is completely dry, add more blue paint, so that the wings will be given a sense of hierarchy, and you can initially add some shadow relationships to the butterfly to pave the way for subsequent details.

Step 4. Paint the butterfly body with dark red colors
After the initial coloring of the wings, we need to paint the body of the butterfly, here I chose a bright brick red, you can also choose a darker red or brown. Just use the thinnest liner, here I recommend our grabie's most popular 11 Pcs Miniature Detail Paint Brush Set, it is the best value miniature brush set without compromise.

Step 5. Add some texture to the butterfly wings
After the prototype of the butterfly appears, we need to add some realistic features to it. First the rest of the wing needs to be smudged more naturally and evenly. Then, the tentacles of the butterfly are outlined with the thinnest miniature brush, and then, some fine textures and lines are added to the butterfly wings to make the butterfly wings more transparent and real.

Step 6. Optimize all details and highlights
Finally optimize all the shadows and add some embellishments to the wings, which will give our watercolor butterfly beautiful texture and detail. Butterflies are a great watercolor exercise for practicing watercolor skills and can be a feature in many paintings.
Thank you for joining the butterfly watercolor painting tutorial and creating a piece of watercolor butterfly with us today, we hope you found this watercolor tutorial insightful, entertaining, educational, and encouraging. Let us know how your ornaments turned out in the comments section of this article, and tag us on social media! Are you feeling inspired and want to create more watercolor drawing? Shop suggested set for your creation!
Follow this step-by-step guide to learn how to draw butterflies with watercolor.


