How to Draw a Realistic Bee Step by Step
 The bumble bee is known for being a symbol of solidarity and hard work, although they may have scared you as a child. This tutorial shows a realistic bee drawing step-by-step. Follow our bumble bee simple drawing step by step tutorial, and you will soon be painting these busy workers yourself.
List of Supplies:
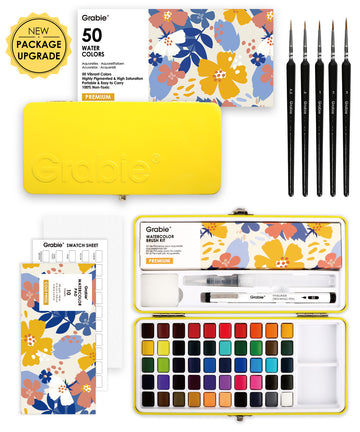
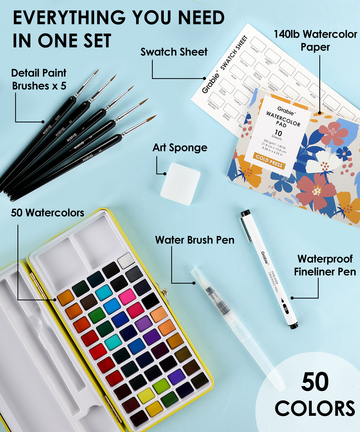
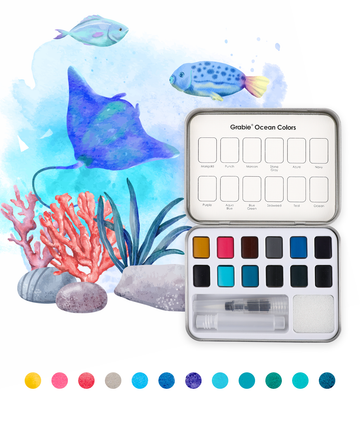
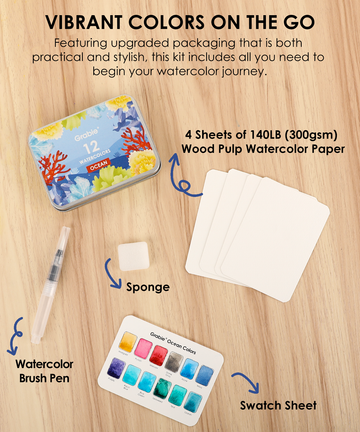
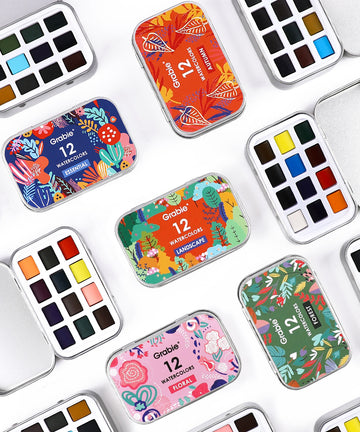
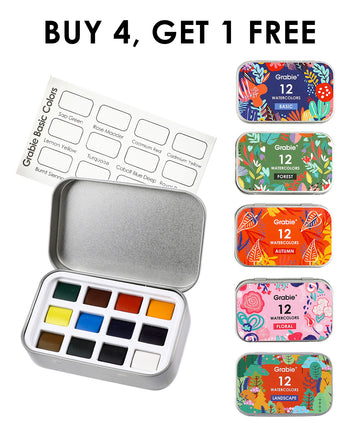
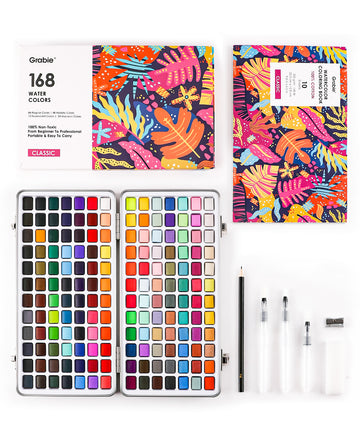
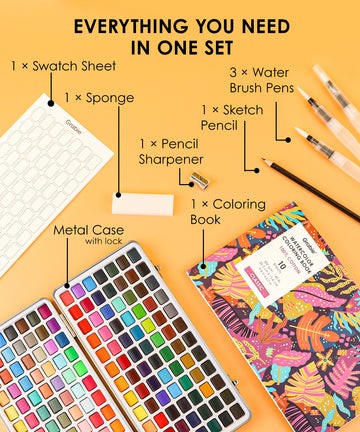
- 12/24 Colors Watercolor Paint Set In Tin Box
- 12/24/36/48/60/100 Unique Colors Fineliner Color Pen Set

Step 1. Start sketching the bee with simple geometrical shapes
The first thing to tackle is the sketch of the bee. Start by drawing two circles that overlap each other to represent the head and body of the bee. Then draw two symmetrical triangles at the intersection of the two circles as the wings of the bumble bee.

Step 2. Refine the shape of the bee and soften the outlines
Bumblebees won't be as round as geometric figures, so you can tuck the bee's head and tail inward. In the same way, the wings of bees will not be completely triangular, and will have some curvature and softness. If you are still a beginner and you want to draw a perfect bee, then learning to draw wings is recommended first.

Step 3. Color the wings and yellow hair of the bee
This step requires the use of watercolors. After erasing the extra guidelines, the preliminary simple bee sketch is complete. Our artist gently applied light grey watercolor as a base color to the bee's wings. A miniature paint brush was used to outline a rough area of the rough yellow hair of the bee.

Step 4. Add more colors to the body & wings and sketch the legs
It is a little bit complex in this step, we will first use yellow and orange colors fine line pens to make a few extra highlights along the outline of the wings in this tutorial.
Creating the black lines along the belly of your bumblebee design will require using black and yellow, alternating on a bumble bee's belly, one after another.
Meanwhile, We can draw different lengths of rectangles to represent the frame of the bee's legs and wait for subsequent coloring.

Step 5. Color the legs and add antennas
This step requires patience. You need to use a black fine line pen to fill in the area of the leg that was left blank in the previous step with short lines. You can draw some short lines that stand out on the outside of the legs to depict the hairy insect legs.

The wings of insects are usually not simple, there are often some translucent lines and patterns, and there may be some residual pollen falling on the wings. So we need to draw some cracks and dots on the wings with a fine line pen to simulate this texture. Finally, strengthen the hairy flu on the bee's legs and add a round tail to the bee using the grey pen. This cute bee drawing is now complete.
Thank you for joining the painting tutorial and finishing the realistic bumble bee drawing with us today, we hope you found this article insightful, entertaining, educational, and encouraging. Let us know how your ornaments turned out in the comments section of this article, and tag us on social media! Are you feeling inspired and want to create more fine liner pens painting? Shop suggested set for your creation!


