How to Draw a Lemon with Watercolor Paint
 Lemons are a famous yellow, oval-shaped tropical citrus fruit known for their sour taste. The sweet and sour juice of lemons is often used to make lemonade drinks or added to cuisine as a condiment. Lemons are also a good source of vitamin C, which can help with weight control, prevent kidney stones, and provide many more health benefits. That's why it has been the favorite fruit of many people.
I've sorted out a step-by-step tutorial on how to draw a lemon. With the help of this guide, whether you are a beginner or a watercolor drawing expert, you can easily draw a lemon in 5 easy steps.
List of Supplies:
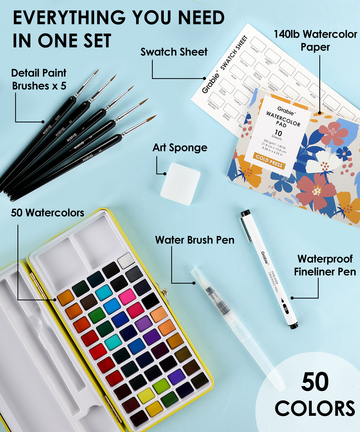
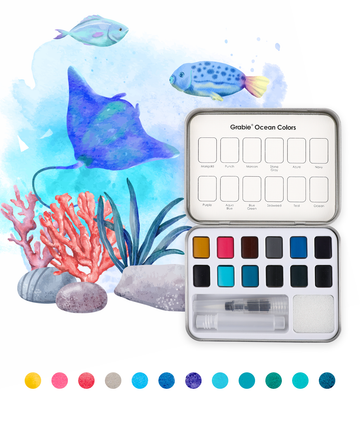
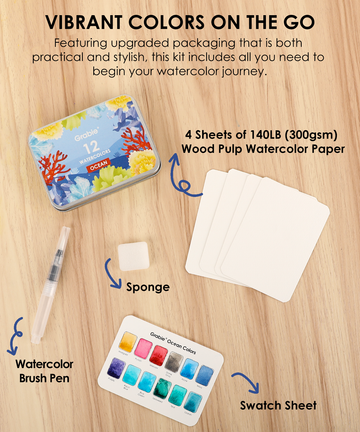
- 48 Watercolor Paint Set Including 12 Metallic Colors
- 9 Pcs Professional Synthetic Squirrel Hair Paint Brush Set

Step 1. Sketch a lemon with a pencil
First of all, let’s draw a tilted oval. To outline the lemon that looks more realistic, I drew a small semi-circle arc on the far left of the ellipse so that the lemon bulges out a little, and if you have ever watched real lemons, you will find they often have this raised area. Next, draw a lemon stem on the other side and the outlines of two large leaves on either side of the stem. Then, the lemon prototype is complete!

Step 2. Set the overall tone and pave the primary background color
We all know that most lemons are yellow; of course, there are green limes, but most ovals, like the picture shown, are the most primitive yellow lemons. So in this step, we need to use a thick watercolor brush with a small amount of yellow paint and an appropriate amount of water to cover the entire ellipse with light yellow. In order to ensure the freshness of the lemon, the stem and leaves must also use fresh green.

Step 3. Add layers and highlights of the lemon
After the first layer is completely dry, I use the same yellow paint and a smaller brush with a small amount of water to paint a second and third layer of yellow along the edges of the lemon. Pay attention to leaving the highlights as much as possible, and you can also smudge a small part of the highlights. Likewise, continue to layer the green paint evenly on the parts of the leaves and stems. A small amount of yellow can be mixed with green at the junction of the stem and fruit for a more natural transition.

Step 4. Repeat the last step with darker shades
At this stage, the rudiment of the lemon is already there. We need to mix in a darker brown to make a tawny brown and add some shadow to the bottom for the saturated lemon yellow. At the same time, dark green can be used to deepen the surrounding of the rhizomes and leaves, leaving a lighter area in the middle of the leaves to form the highlights of the leaves.

Finally, we need to bring this lemon to life. We start by adding some 'spots' to the localized areas of the lemon, but not the highlights. These spots are found in many fruits, most typically bananas. It can also be imagined as partially natural stains, such as dirt/dust, which appear more organic. Next, mix light purple and blue on the bottom of the lemon to create a shadow for the lemon painting, which immediately looks three-dimensional.
Thank you for creating a watercolor lemon with us today, we hope you found this lemon drawing article insightful, entertaining, educational, and encouraging. Creating from nothing is an interesting process and we hope you can enjoy this lemon watercolor painting by using Grabie's art supplies.


